
Home
For contractors
About us
Contact
Request a quote
Roof lanterns
Inspiration
Google-rating: 5.0★★★★★from 2 reviews
You finish the inside of a roof lantern by insulating the reveals of the roof opening, adding a vapour control layer on the warm side and lining them with plasterboard or plywood, which you then plaster or paint.
A free, no-obligation quote tailored to you in just a few clicks. You finish on the quote page, where everything is already filled in.
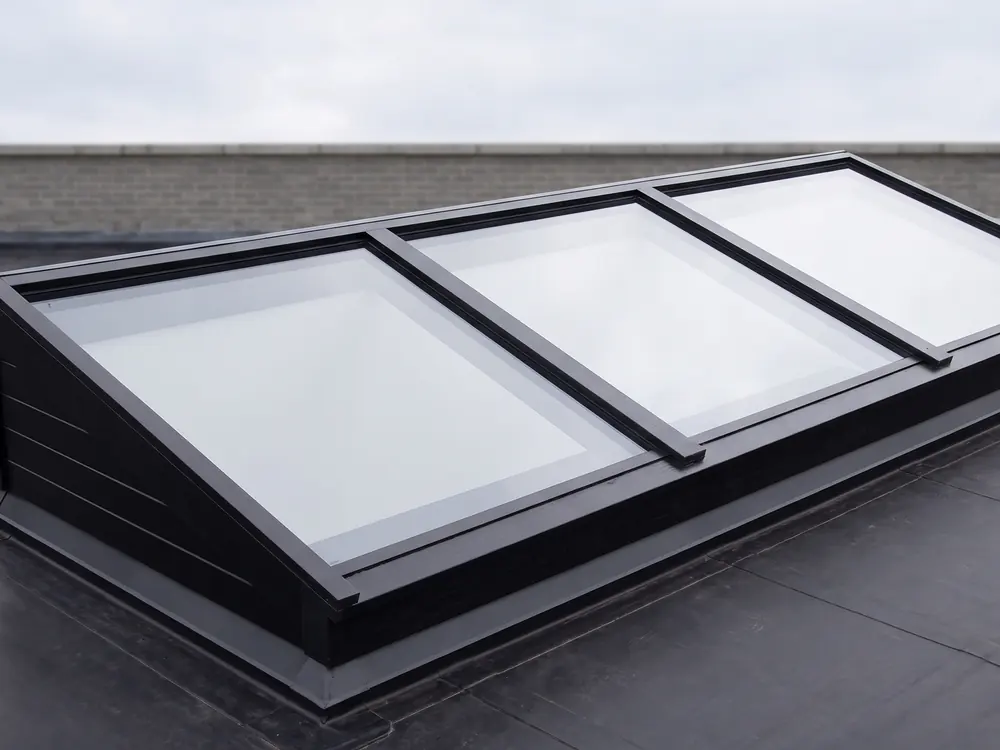
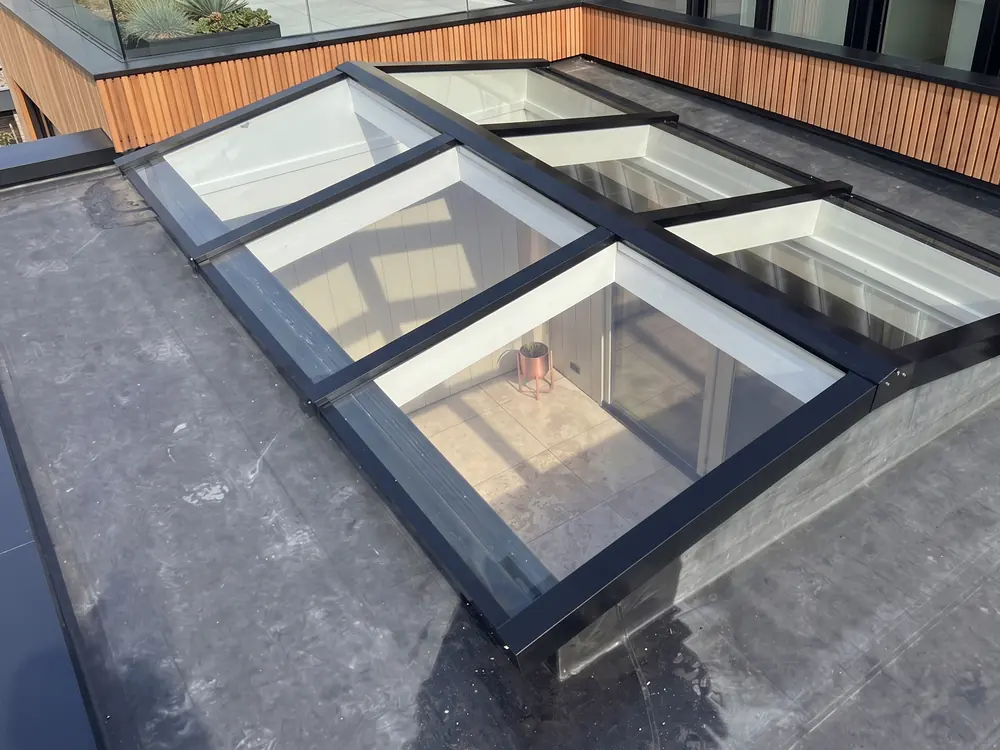 Lean-toGable
You finish the inside of a roof lantern by insulating the reveals of the roof opening, adding a vapour control layer on the warm side and lining them with plasterboard or plywood, which you then plaster or paint. The junction with the frame is finished with a trim or a neat sealant joint. This is work for your contractor or builder, not part of the roof lantern delivery itself.
The inside is everything you see from below around the glass: the reveals of the roof opening, the inner face of the upstand and the transition to the ceiling. The roof lantern itself arrives ready-made from the factory. The shaft underneath is building work and largely decides how clean the result looks.
That shaft is also where heat and moisture meet. An unfinished or poorly insulated reveal is a cold bridge. Warm, humid indoor air condenses against it. Finishing the inside properly therefore also prevents a lot of trouble with condensation on a roof lantern.
The order is nearly always the same, whether you are building a new extension or renovating an existing roof opening. The installation manual supplied with every delivery includes a step-by-step plan for the upstand, insulation and sealing. The interior finish follows straight on from that.
Pay particular attention to the corners when insulating. The insulation in the reveal must run seamlessly into the roof insulation, otherwise a cold strip forms right at the junction and moisture settles on it.
Light, matt reveals bounce daylight further into the room. White or a soft off-white works best. If the reveals splay slightly outwards, the light spreads more widely. That does need discussing with your contractor beforehand, as it affects the structure.
The aluminium frame is available in any RAL colour. If you want a different colour inside and out, a bicolour version is possible, for example black outside and white inside so the frame blends into the ceiling. Read more about that choice in choosing a frame colour for your roof lantern.
Want lighting or a pleated blind in the reveal? Run the cables and fix the mounting points before the boards go on. Ideas for a roof lantern with LED lighting and fitting a pleated blind for a roof lantern are on separate pages.
Cutting into a finished, plastered reveal afterwards is awkward and rarely looks good. Fifteen minutes of planning beforehand saves you a day of repairs later.
Yes. An uninsulated upstand is a cold bridge where condensation can form. Insulate the inside and the reveals all round, and connect the insulation to that of the roof. A vapour control layer goes on the warm side.
If you are handy with plasterboard and plastering, you can. The trickiest part is the vapour control layer and the junction with the frame, because that is where moisture problems usually start. If in doubt, leave that part to your contractor or builder.
A light, matt colour gives the most light in the room because it reflects daylight further. White or off-white is the usual choice. Dark reveals can look striking, but they noticeably narrow the spread of light.
Send a photo or sketch with dimensions. Within 24 hours you receive a quote with glazing options, lead time and price.
Request a quote Get in touchA few questions, a photo or the dimensions, and we will prepare a tailored quote. Prefer to call: +31 342 223 190.
Request a quote More information